
VirtualBox: Installation von macOS High Sierra als Gast auf einem macOS Host
Mar 2022 VirtualBox
Installationsanleitung einer virtuellen Maschine mit High Sierra in VirtualBox
Voraussetzungen:
Die Installation erfolgt in drei Schritten:
Syntax:
Im Terminal:
(Der Dateiname bzw. -pfad kann aus dem Finder in das Terminal-Fenster gezogen werden)
Das Installationsprogramm von High Sierra wird geladen. Wenn das Bild zu klein ist, kann man im Menü über Anzeige – Skalierter Modus (Host+C) in eine größere Darstellung wechseln.
Jetzt ist die virtuelle Maschine mit High Sierra installiert. Das System benötigt etwas weniger als 12 GB Platz auf der Festplatte. Die Daten eines Time-Machine-Backups kann man mit dem Programm Migrationsassistent einspielen.
Die Gasterweiterungen von VirtualBox bieten einige nützliche Zusatzfunktionen. Zur Installation siehe: VirtualBox: Installation der Gasterweiterungen auf macOS.
macOS Catalina
macOS High Sierra
VirtualBox 6.1
Voraussetzungen:
- Ein lauffähiges Oracle VirtualBox-System (Download Oracle VirtualBox)
- Die Install macOS High Sierra-App in voller Größe (5,2 GB). Wer die Software aus dem AppStore herunterlädt, bekommt in der Regel eine Sparversion von nur 19 MB, die man hier nicht gebrauchen kann. Wie man die Vollversion herunterladen kann, ist hier beschrieben.
- Ein Skript zur Erzeugung einer iso-Datei, welches von socratis stammt und hier ausführlich beschrieben wird: https://forums.virtualbox.org/viewtopic.php?f=22&t=81443
Die Installation erfolgt in drei Schritten:
- Eine iso-Datei vom High Sierra-Installationsprogramm erzeugen
- Neue virtuelle Maschine in VirtualBox anlegen
- High Sierra in der virtuellen Maschine installieren
Eine iso-Datei vom High Sierra-Installationsprogramm erzeugen
VirtualBox benötigt zur Installation der virtuellen Maschine eine iso-Datei. Diese wird mit dem SkriptInstallerApp2ISO.sh erzeugt.Syntax:
<Pfad zum Skript>/InstallerApp2ISO.sh -i <Pfad zum High Sierra-Installer> -o <Pfad zum Verzeichnis, in dem die iso-Datei gespeichert werden soll>
Im Terminal:
(Der Dateiname bzw. -pfad kann aus dem Finder in das Terminal-Fenster gezogen werden)
% ~/Downloads/InstallerApp2ISO.sh  -i ~/Downloads/Install\ macOS\ High\ Sierra.app  -o ~/Downloads

================================================================================
Apple OSX Installer Application to ISO creation tool
================================================================================
Version: 2019-11-27
Copyright (C) 2017-2019, socratis @ VirtualBox forums,
         with help from granada29 @ VirtualBox forums.
All rights reserved.

- OSX version: attempting automatic OSX detection from the InstallerApp...
- OSX version: 10.13, 10.14 or 10.15 InstallerApp detected!
- OSX version: Testing for 10.13-10.15
- OSX version detected: 10.13.6 (17G66)
y* WARNING: The following file(s) already exist in the destination/temporary directory:
           -> /tmp/10.13.6.sparseimage

*** IF YOU CONTINUE THE FILE(S) WILL BE DELETED! ***

Continue? (Yes/No)
yes
--------------------------------------------------------------------------------
The conversion will use the following parameters:
    - Host OSX version        : 10.15.7 (19H2)
    - Installer application   : /Users/pieper/Downloads/Install macOS High Sierra.app
    - OSX version (build)     : 10.13.6 (17G66)
    - Destination directory   : /Users/pieper/Downloads (855 GiB/896 GB free)
    - Temporary directory     : /tmp (855 GiB/896 GB free)
    - OSX version scripts     : 10.13-10.15 scripts for version 10.13.6 (17G66)
    - Verbosity level         : 1
    - Dry-run cmd. output     : 0
    - Admin group membership  : Required and met.

************************   I M P O R T A N T   ************************
Please understand that there is feedback for most processes, but not
for all of them, such as copying and moving. They can take up to ten
minutes or more, depending on your HD speed. If you selected a network
location or an external HD, these times can vary a lot.
***********************************************************************

Continue? (Yes/No)
yes


Conversion script started on: 2022-03-09 08:32:18 CET
--------------------------------------------------------------------------------

Create 10.13.6 blank ISO image with a Single Partition - Apple Partition Map...
--------------------------------------------------------------------------------
created: /tmp/10.13.6.sparseimage

Mount the sparse bundle for package addition...
--------------------------------------------------------------------------------
/dev/disk6          	Apple_partition_scheme
/dev/disk6s1        	Apple_partition_map
/dev/disk6s2        	Apple_HFS                      	/Volumes/OS X Base System

Create the installer media...
--------------------------------------------------------------------------------
Ready to start.
To continue we need to erase the volume at /Volumes/OS X Base System.
If you wish to continue type (Y) then press return: Y
Erasing Disk: 0%... 10%... 20%... 30%...100%...
Copying installer files to disk...
Copy complete.
Making disk bootable...
Copying boot files...
Copy complete.
Done.

Unmount the sparse bundle...
--------------------------------------------------------------------------------
/System/Volumes/Data/Volumes/Install macOS High Sierra:
2022-03-09 08:32:44.839 mdutil[1625:36432] mdutil disabling Spotlight: /System/Volumes/Data/Volumes/Install macOS High Sierra -> kMDConfigSearchLevelFSSearchOnly
	Indexing disabled.
"disk6" ejected.

Resize the partition to remove any free space...
--------------------------------------------------------------------------------

Convert the sparse bundle to ISO/CD master... (this could take until next year)
--------------------------------------------------------------------------------
Driver Descriptor Map (DDM : 0) lesen …
Apple (Apple_partition_map : 1) lesen …
 (Apple_Free : 2) lesen …
disk image (Apple_HFS : 3) lesen …
.............................................................................
Dauer: 19.507s
Geschwindigkeit: 273.8M Byte/s
Ersparnis: 0.0 %
created: /tmp/10.13.6.cdr

Remove the sparse bundle...
--------------------------------------------------------------------------------

Rename the ISO and move it to its destination...
This can take a * really * long time if the destination is on the network...
--------------------------------------------------------------------------------


================================================================================
                            !!!  DONE !!!
================================================================================
Conversion script ended at         : 2022-03-09 08:33:06 CET
Conversion script took a total of  : 0 min, 46 sec (46 s).
--------------------------------------------------------------------------------
You can find the OSX 10.13.6 installation DVD in:
    --> /Users/pieper/Downloads/10.13.6.iso
--------------------------------------------------------------------------------
Neue virtuelle Maschine in VirtualBox anlegen
Hier sind die einzelnen Installationsschritte aufgelistet. Eingaben, die für diese Installation gemacht wurden, stehen in Klammern hinter dem jeweiligen Schritt.- VirtualBox aufrufen und eine neue virtuelle Maschine anlegen.
NeuBildschirmfoto

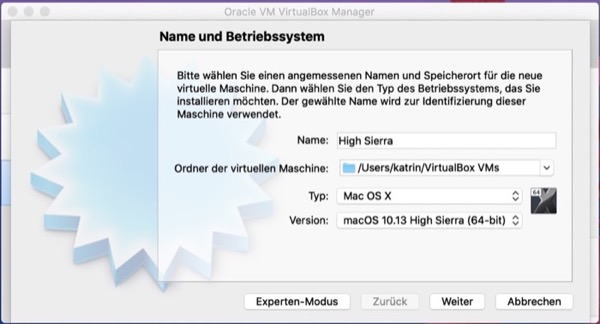
- Name und Betriebssystem: VirtualBox stellt eine Vorlage für High Sierra zur Verfügung, die automatisch eingeblendet wird, wenn man die neue VM High Sierra nennt.
WeiterBildschirmfoto
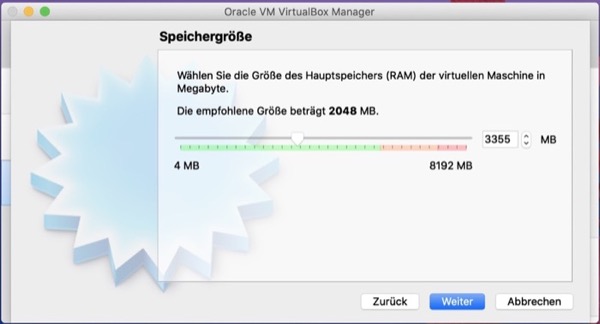
- Speichergröße: RAM wählen (3355 MB)
WeiterBildschirmfoto
- Platte: Festplatte erzeugen
WeiterBildschirmfoto

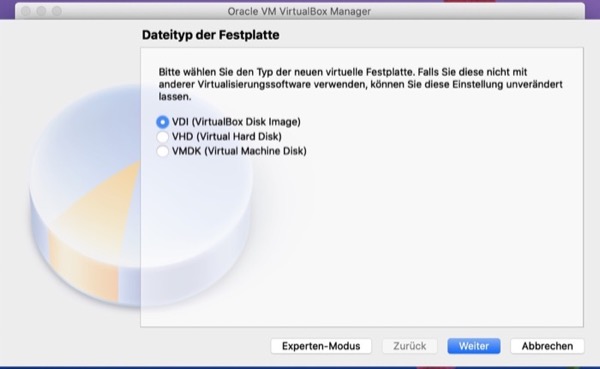
- Dateityp der Festplatte: VDI
WeiterBildschirmfoto
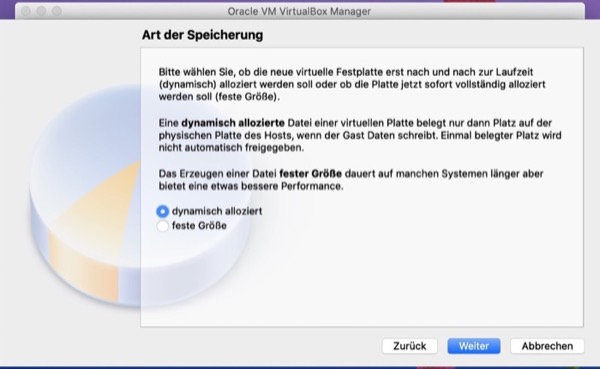
- Art der Speicherung: dynamisch alloziert
WeiterBildschirmfoto
- Dateiname und Größe: Größe der Festplatte angeben (20 GB)
ErzeugenBildschirmfoto

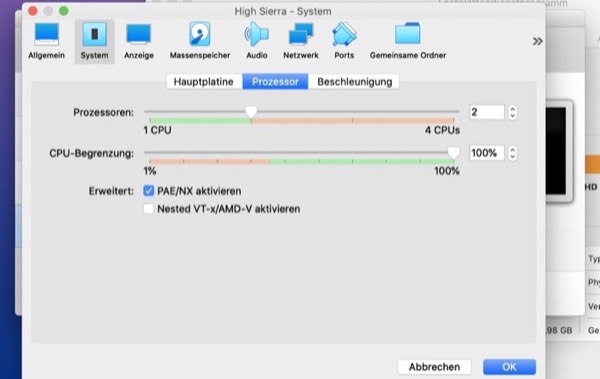
Die virtuelle Maschine wird angelegt. In VirtualBox die neue VM auswählen, auf Ändern klicken und im Reiter - System – Prozessor die Zahl der CPUs erhöhen (2)
OKBildschirmfoto
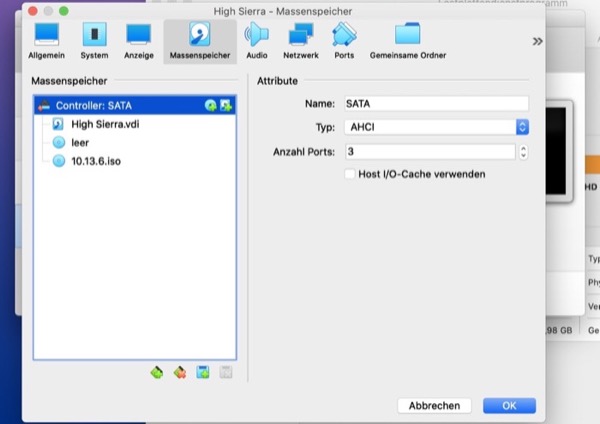
- Im Reiter Massenspeicher bei Controller: SATA auf das Plus-Symbol mit der CD klicken und die oben erzeugte iso-Datei (
10.13.6.iso) auswählen
OKBildschirmfotos

High Sierra in der virtuellen Maschine installieren
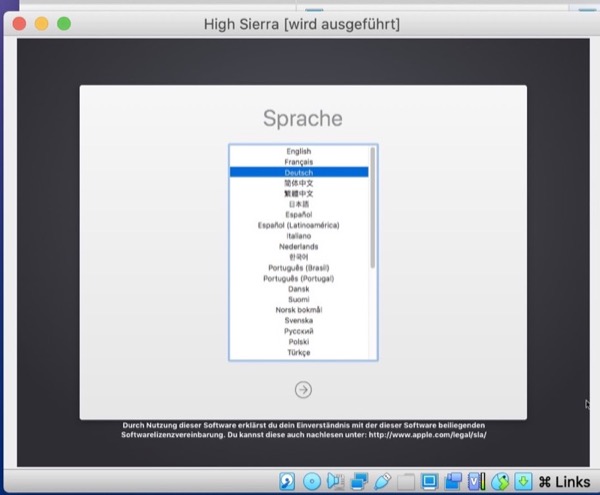
Im Hauptfenster von VirtualBox die neue VM auswählen und auf Start klickenDas Installationsprogramm von High Sierra wird geladen. Wenn das Bild zu klein ist, kann man im Menü über Anzeige – Skalierter Modus (Host+C) in eine größere Darstellung wechseln.
- Sprache: auswählen
→Bildschirmfoto
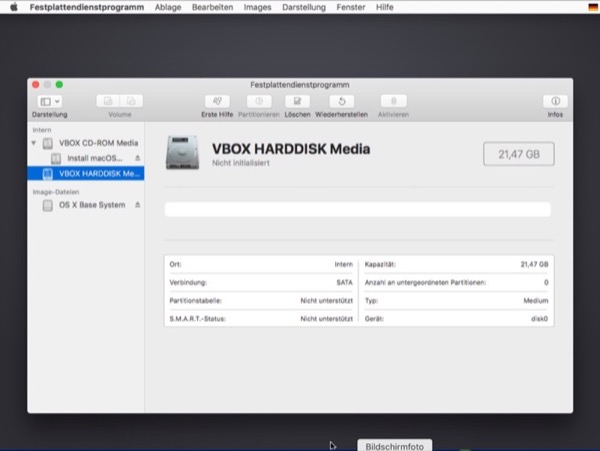
Die virtuelle Festplatte formatieren
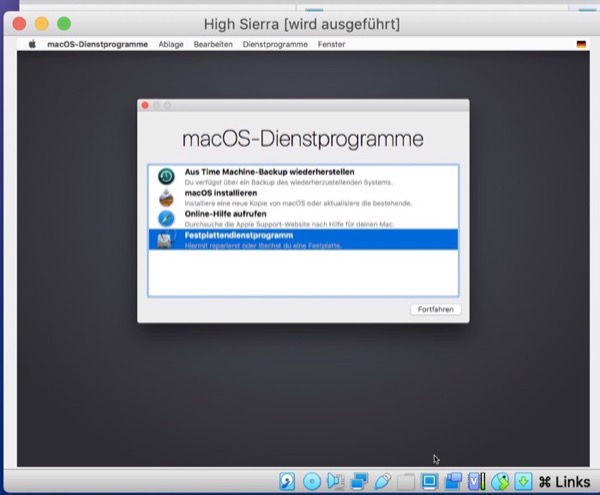
- Im Fenster macOS-Dienstprogramme den Punkt Festplattendienstprogramm wählen
FortfahrenBildschirmfoto
- Die virtuelle Festplatte VBOX HARDDISK Media auswählen und oben auf Löschen klicken
Bildschirmfoto
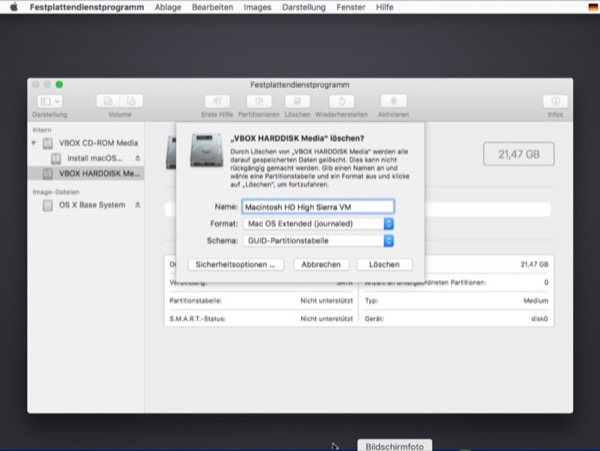
- Einen passenden Namen vergeben (z. B. Macintosh HD High Sierra VM)
LöschenBildschirmfoto
FertigBildschirmfoto
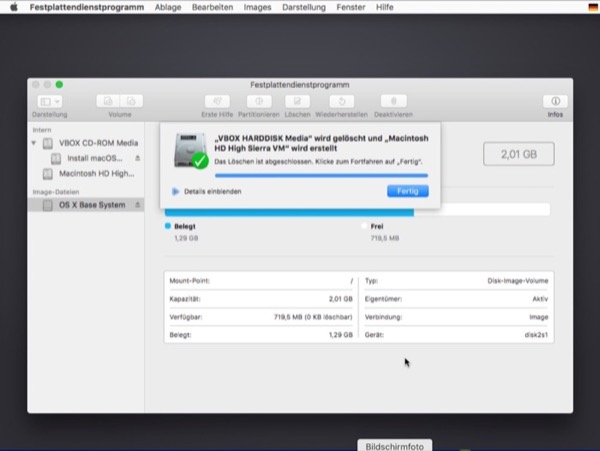
Das Festplattendienstprogramm über das Menü schließen
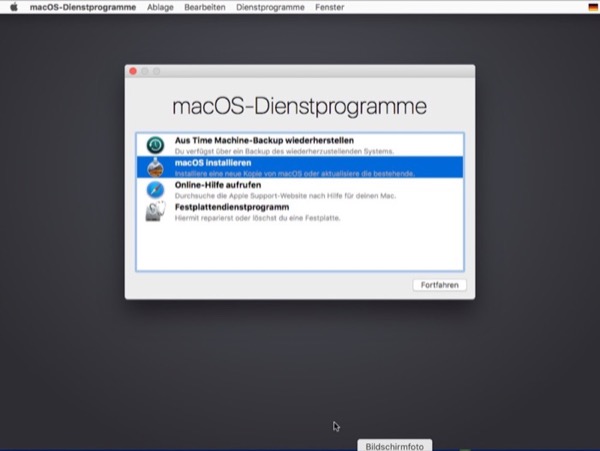
High Sierra installieren
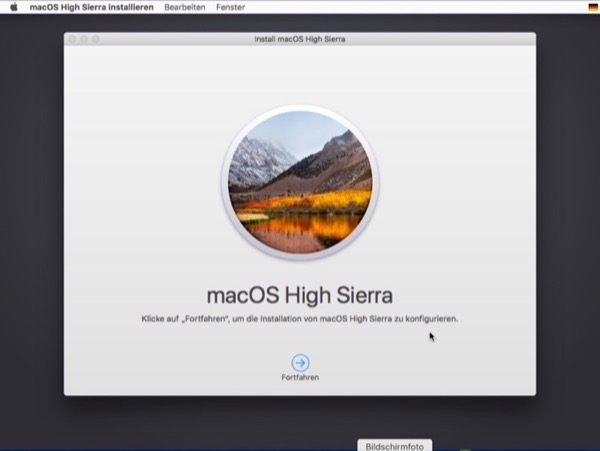
- Im Fenster macOS Dienstprogramme den Punkt macOS installieren wählen
FortfahrenBildschirmfoto
- macOS High Sierra
FortfahrenBildschirmfoto
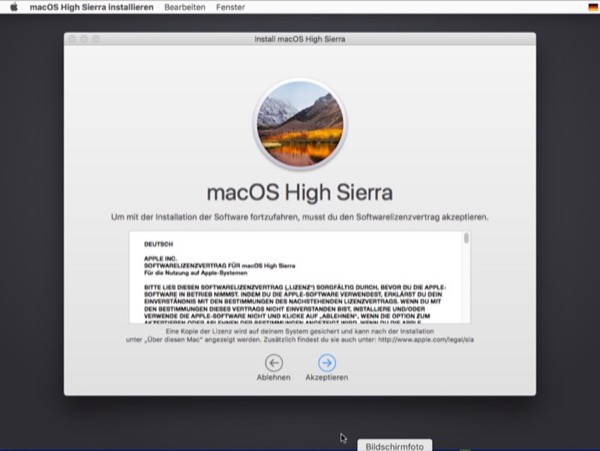
- Lizenz akzeptieren
AkzeptierenBildschirmfoto
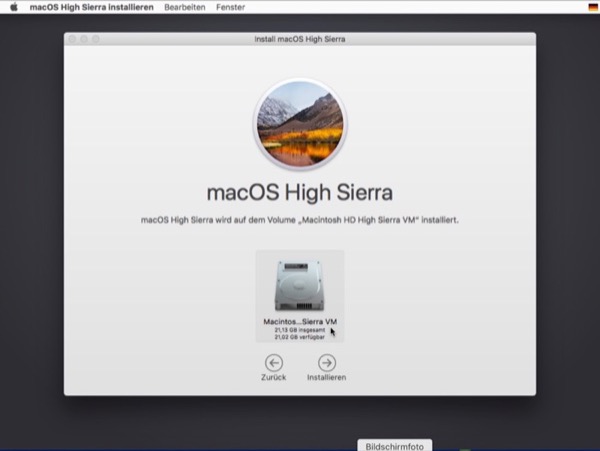
- Die zuvor im Festplattendienstprogramm formatierte Festplatte auswählen
InstallierenBildschirmfoto
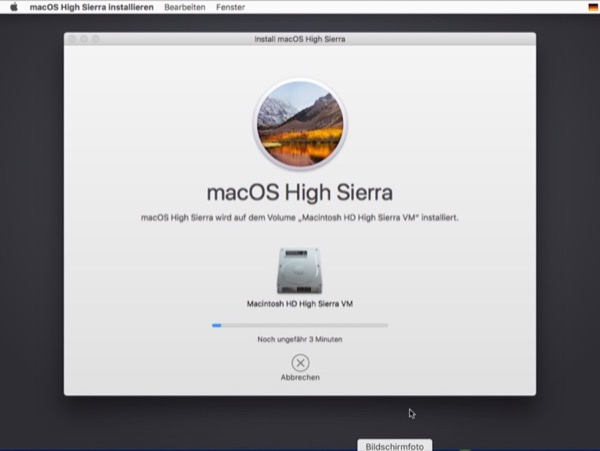
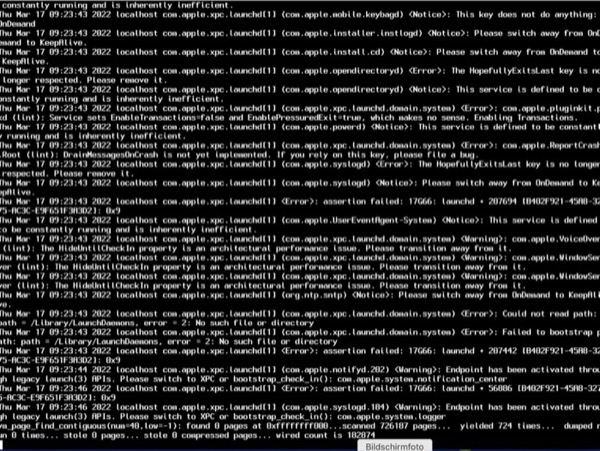
- Die Installation dauert einige Zeit, zwischendurch erscheinen eine Menge Meldungen auf schwarzem Hintergrund, dann der Apfel mit Fortschrittsbalken
Bildschirmfotos
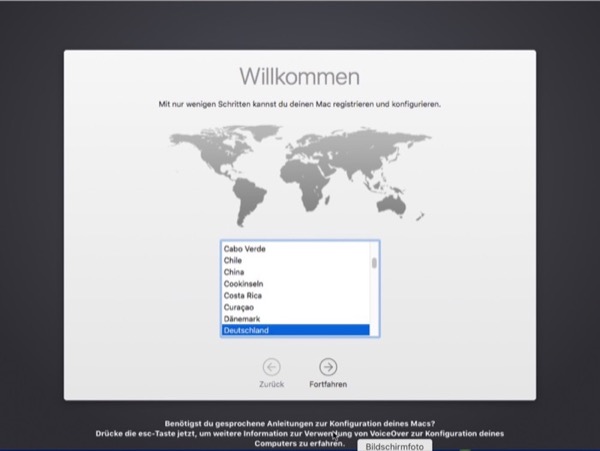
- Willkommen: Das Land auswählen (Deutschland)
FortfahrenBildschirmfoto
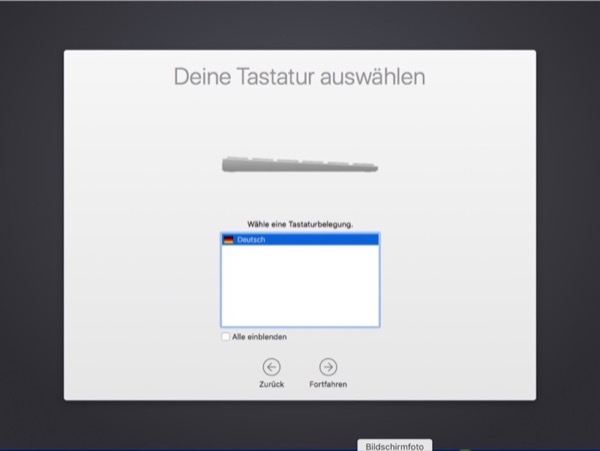
- Deine Tastatur auswählen (Deutsch)
FortfahrenBildschirmfoto
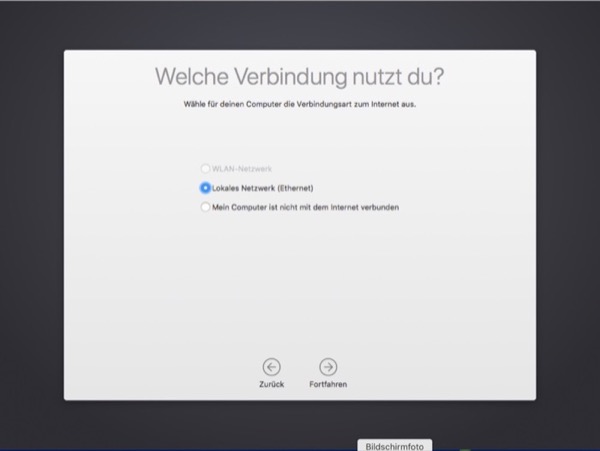
- Welche Verbindung nutzt du? (Lokales Netzwerk (Ethernet))
FortfahrenBildschirmfoto
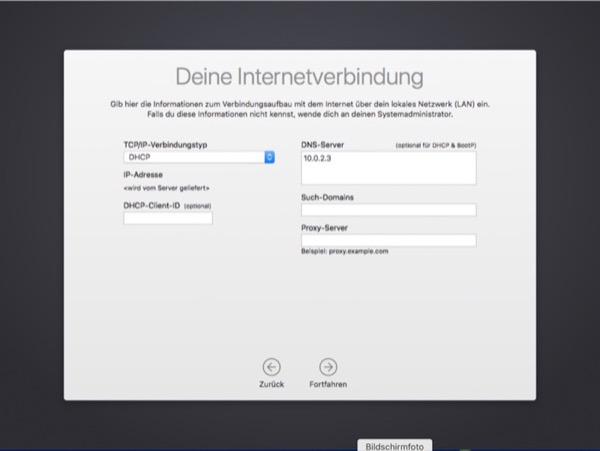
- Deine Internetverbindung
FortfahrenBildschirmfoto
- Daten & Privatsphäre
FortfahrenBildschirmfoto
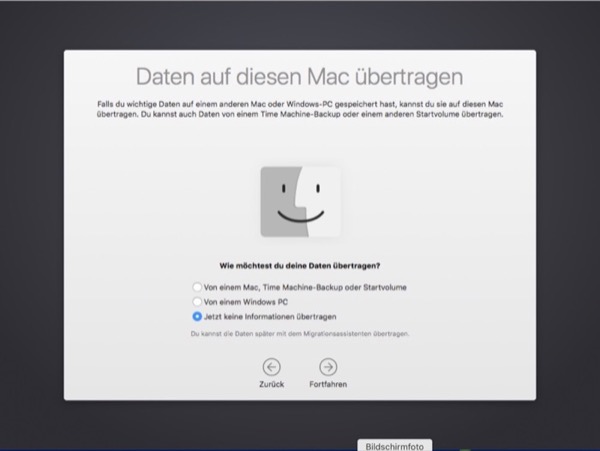
- Daten auf diesen Mac übertragen: hier kann man entweder gleich Daten übertragen oder erst das System fertig installieren. (Jetzt keine Informationen übertragen)
FortfahrenBildschirmfoto
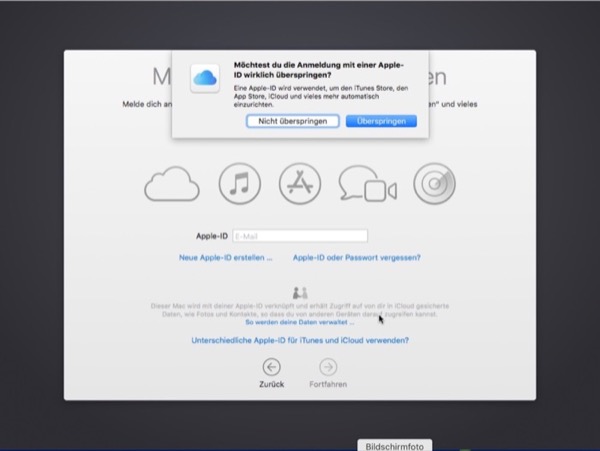
- Apple-ID eingeben (Überspringen)
FortfahrenBildschirmfoto
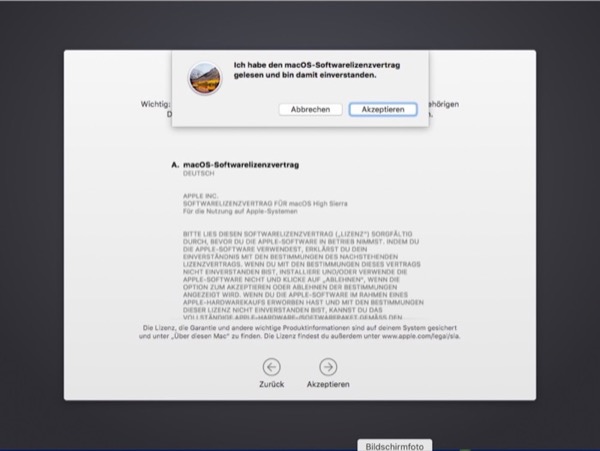
- Lizenz: akzeptieren
AkzeptierenBildschirmfoto
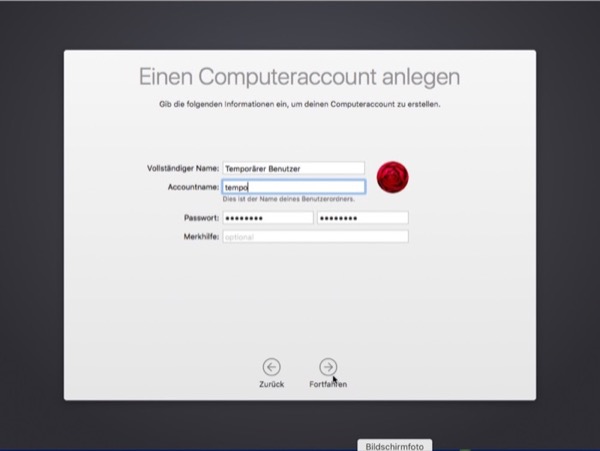
- Einen Computeraccount anlegen: Wenn man später Daten aus einem Time Machine-Backup einspielen möchte, sollte man hier einen anderen Benutzernamen als den im Backup auswählen, da das Backup sonst unter einem neuen Namen zurückgesichert wird (Temporärer Benutzer, tempo, Passwort)
FortfahrenBildschirmfoto
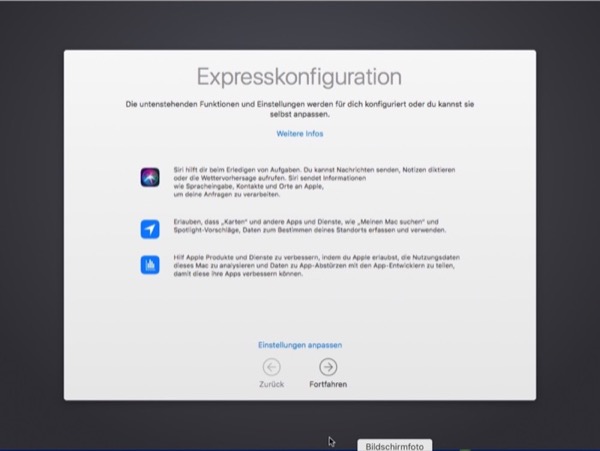
- Expresskonfiguration: Einstellungen anpassen
Bildschirmfoto
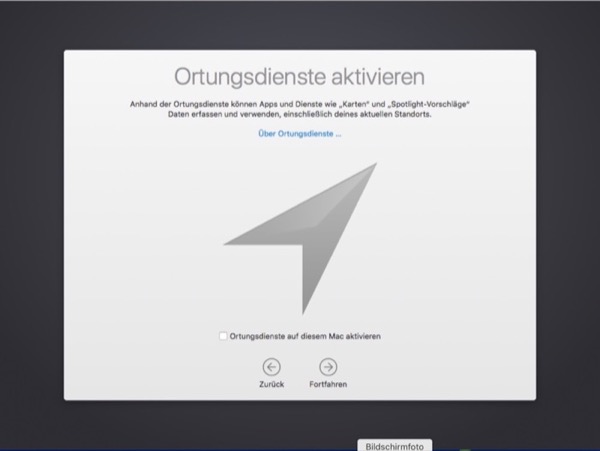
- Ortungsdienste aktivieren (nicht aktivieren)
FortfahrenBildschirmfoto
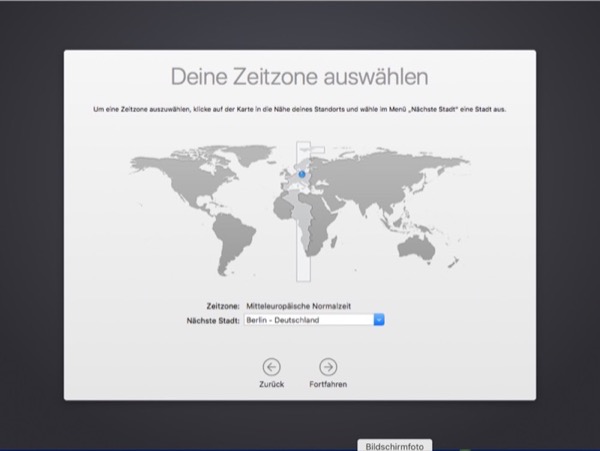
- Deine Zeitzone auswählen (Berlin)
FortfahrenBildschirmfoto
- Analyse (nicht mit Apple teilen)
FortfahrenBildschirmfoto

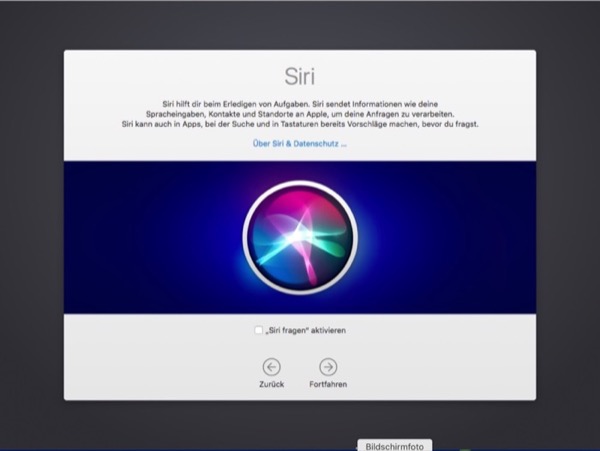
- Siri (nicht aktivieren)
FortfahrenBildschirmfoto
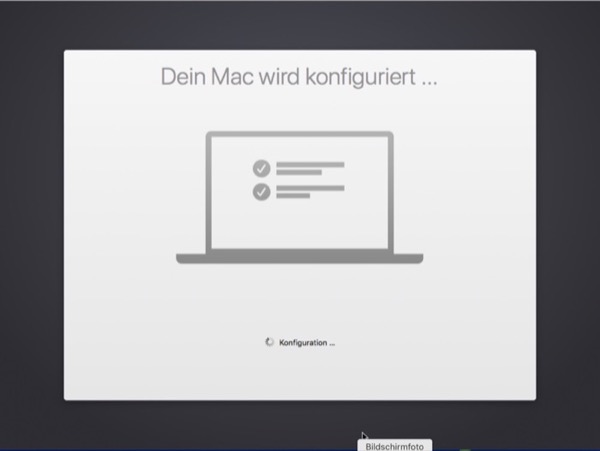
- Dein Mac wird konfiguriert…
Einführung
FortfahrenBildschirmfotos

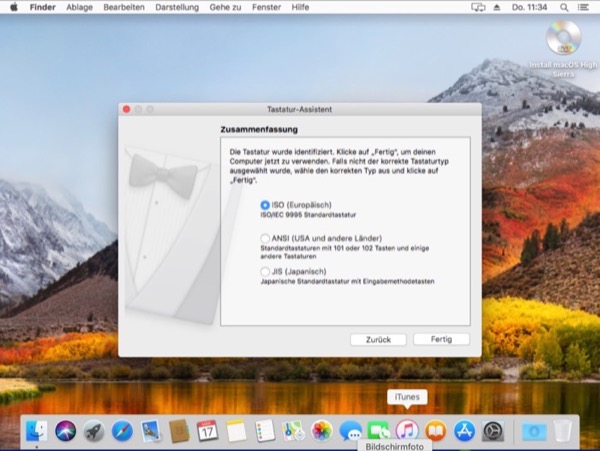
- Tastatur identifizieren (die Taste neben der linken Shift-Taste drücken)
Bildschirmfoto

- Zusammenfassung: ISO (Europäisch)
FertigBildschirmfoto
Jetzt ist die virtuelle Maschine mit High Sierra installiert. Das System benötigt etwas weniger als 12 GB Platz auf der Festplatte. Die Daten eines Time-Machine-Backups kann man mit dem Programm Migrationsassistent einspielen.
Die Gasterweiterungen von VirtualBox bieten einige nützliche Zusatzfunktionen. Zur Installation siehe: VirtualBox: Installation der Gasterweiterungen auf macOS.
macOS Catalina
macOS High Sierra
VirtualBox 6.1